Carabiner brake is another method of rappelling in case you've dropped your belay device. For teaching Basic students, I'd still lean towards rappelling with a munter, but you'll run across some old timers in the Mountaineers who still use carabiner brake as their backup rappel method, so it's worth knowing about it so you can at least check if someone else's setup is correct. Also, we'll use a version of it when Rescue Methods comes about.
This video shows a good overview of how carabiner brake is built: https://youtu.be/03JjYHk2L2A?t=7m9s
If you have trouble clipping the cross-bar carabiners in, instead bring the bight of rope you pulled through up to the strands above you, and clip biners in there, and then slide them down into place, as shown in this video: https://www.youtube.com/watch?v=mDyF48DhdCI
|
|
|
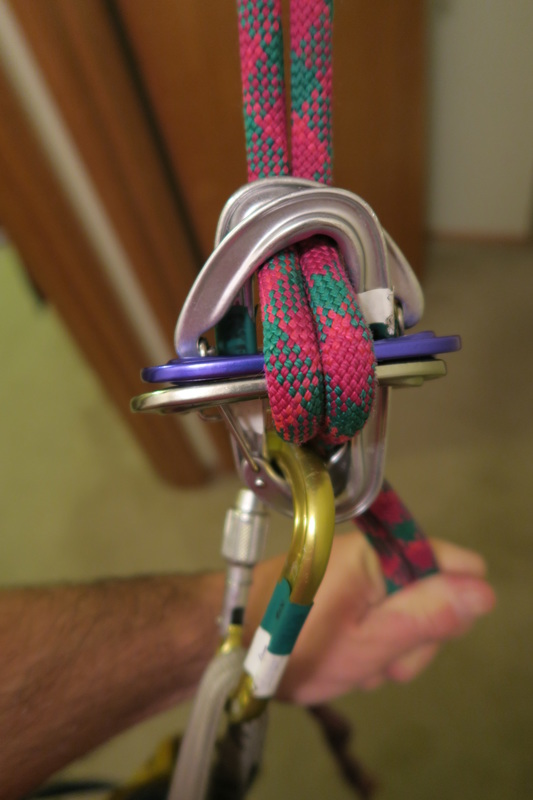
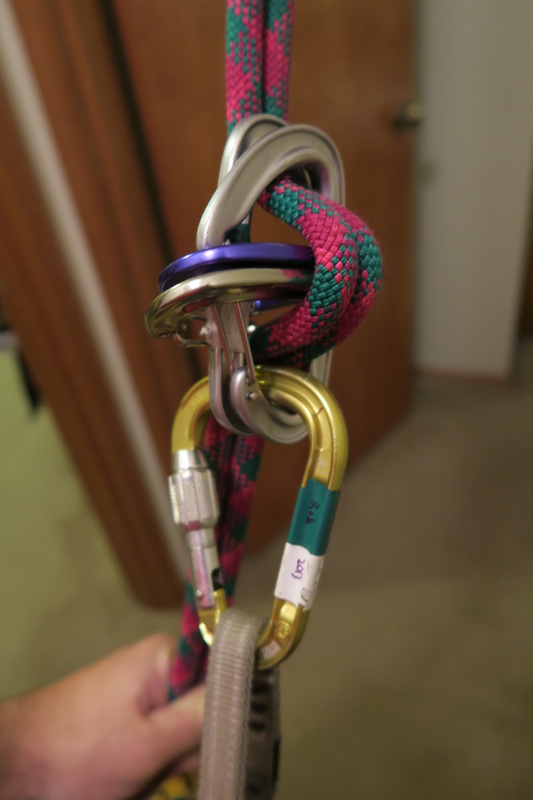
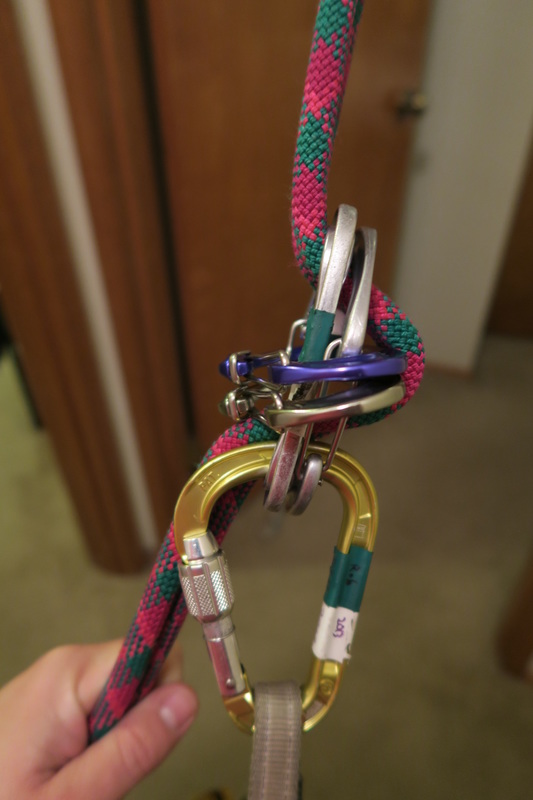
Notice how it forces puts the same series of bends in the rope as what happens in a regular belay device, and that "brake bar" carabiners do nothing other than provide their spines as a surface for friction. You could add an autoblock on either leg loop to back this up.
Ovals?
When building this, use the largest carabiners you have, it makes it easier to set up. Lots of people will tell you "you have to have ovals for this." Not true!! You can definitely build it with offset-D-shaped wiregates, which is what most biners are these days, they just need to be big enough. The catch is that they MUST be wide enough that the sides of the rope isn't pressing outward on the gates, otherwise it could permanently damage the gates of your biners. (Notice in my photo that the rope strands are not touching the gates of the opposite-and-opposed silver biners.) As for ovals: if you happen to be carrying them for some reason already, go ahead, use 'em. If not, DO NOT start carrying ovals just so you can do carabiner brake, if you're really worried about it, it would be lighter to always carry a second belay device than it would be to carry four ovals.
Munter Rappel
Like I said before, I prefer munter-rappel, so make sure you know how to build that correctly too. Here's a good video: http://vimeo.com/34349494
The key to safety to is make sure all three of these things are on the same side: (either all left, or all right)
Like I said before, I prefer munter-rappel, so make sure you know how to build that correctly too. Here's a good video: http://vimeo.com/34349494
The key to safety to is make sure all three of these things are on the same side: (either all left, or all right)
- The locker's spine
- The munter's brake-strand
- The leg loop you choose to build your autoblock on.
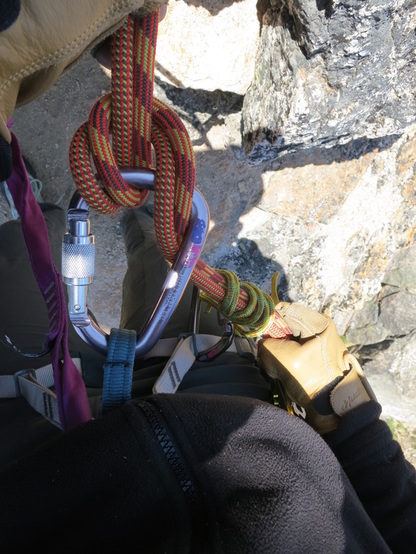
Top picture: Sherrie waiting for her turn to rappel, atop the 2nd pitch on Ingalls.
